January - February - March - April - May - June - July - August - September - October - November - December - Odds and Ends


December

Time to make sure record keeping is up to date.


December is a good time to make sure all my recordkeeping is up to date. There's not much to do in the garden and the weather tends to be a little cool for my liking.

While good results can come from just crossing two pretty daylilies that happen to be blooming the same day, I try to put a little extra effort into the process to (hopefully) improve my chances for successful results. To help this process, I like to have best information possible in my database. Planning possible crosses in advance saves me valuable time when the daylilies are blooming as I don't have to go through the decision process when bloom time comes. I just look at my plan. I'll be putting together that plan next month and the data needs to be up to date when I do.

While some of the data is subjective and comes from my own observations, the objective data such as bud count and parentage are beyond my ability to remember so the database becomes important. Here are some of the key items I keep for each potential hybridizing parent:

  • Cultivar picture
  • Bloom and scape height
  • Branching and bud counts
  • Bloom season (early, mid, late, etc...)
  • Foliage (evergreen, semi-evergreen, dormant)
  • Parentage
  • Number of times listed as pod parent in other registrations
  • Number of times listed as pollen parent in other registrations

The information is quite easy to compile using the AHS on-line registration database. To get the number of times a cultivar has been used as a parent in other cultivars, you use the advance search feature. Just enter the cultivar name down near the bottom where it says 'Parentage'. Make sure 'exact' is selected and then click 'search' at the bottom of the page. It will show you how many (and the names of) the daylilies that have been registered with your daylily in the parentage.

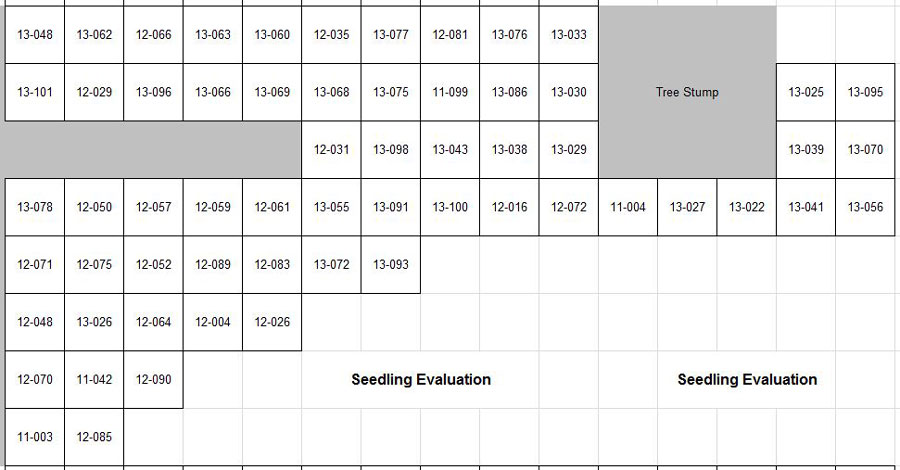
In addition to updating cultivar information, I also make sure that my seedlings information is complete and accurate.


Update garden maps.


When I first started growing daylilies my only marking for each daylily was a plant stake with the cultivar name stuck in the ground in front of the plant. Then I started hearing stories about other growers losing tags or having 'helpful children' moving the tags around. I even heard of one person who had all of his stakes pulled up and scattered around by an angry neighbor. Because keeping track of daylily names is important to me I needed more than just stakes.

Many daylily growers keep maps of their garden just in case they lose track of a daylily tag. That sounded like a good idea so I decided to do the same. I started with hand drawn maps using coins to draw circles for each daylily. I then wrote in the daylily names. This worked well but had one drawback... I had to draw a new map when I made changes to the garden. I eventually smartened up and drew template maps (just the beds with empty circles). I then made photo copies for writing in the daylily names. I used this method for quite a few years.

Eventually, I discovered that it was much easier to make the maps in my computer using Excel. Changes take little time as it's just a matter of replacing the old names with the new names. Excel probably wouldn't work all that well with beds of odd shapes but most of my beds are fairly close to rectangular and Excel suits my purpose just fine.

Here's a copy of the map of one of my evauation beds. It's not shaped exactly as this map but it's close enough for me to know where each plant is located.


Preparing the 'stud picture folders'.


When I first started hybridizing I used to hear about hybridizers keeping 'stud books'. These turned out to be records for the different cultivars they used in their hybridizing. I don't go quite that far in my record keeping, but to facilitate the process of selecting crosses, I like to have 'stud picture folders'.

On my computer, I set up the group of folders you see to the right. There are folders for the different eye colors as well as the non-eye'd base colors. I place images of the cultivars I plan to use in my crossing this coming season in the appropriate color folder. There's also a folder for the cultivars I plan to use as the primary pollen donors.

Organizing the pictures in folders like this makes it easier to review the possible crosses. For example, if I am looking for pollen for a purple cultivar I might not want to look at yellow or orange pollen donors. Likewise, if I'm working on eyed crosses I would not have to look at the non-eyed cultivars unless I specifically chose to.

This is a time saver for me. I'll post more on how this all comes together next month when I select the crosses I'll be making in the spring.