I was going to title this post "Observations on Pot Growing" but I decided that not everyone would appreciate my sense of humor. It's probably better to call it "Observations on growing daylilies in pots" (smile).
A few years back I started growing daylilies in 7-gal pots. I was having a major problem with tree roots sucking all the moisture from the garden soil and even lost some daylilies due to root strangulation. I had heard of other growers growing in pots and thought it would possibly be a good solution.
The first year I decided to mix my own potting medium. I started with a base of what is known here as 'Rose soil', a mix of topsoil, ground pine bark mulch, and sand. The idea was to start with something that wouldn't compact and then improve it. I added Perlite, Vermiculite, compost, and some Watersorb crystals. The idea was for it to have moisture holding ability but still drain reasonably well. I even mixed each 7-gal pot individually to ensure that the ingredients were identical.
The first year after transplanting, the daylilies languished for several months before starting to grow. I planted in the fall (best time here in Houston) but the plants took so long to get settled in that my bloom season didn't even start until most gardens around here were at peak. The bloom that year was not very good with low bud counts and quite a few cultivars didn't bloom at all.
One of my concerns was how the daylilies would handle hot summer sun with the black plastic pots setting above ground. It turned out to be pretty much a non-factor. That could be because of the way I had the pots in east-to-west rows allowing each pot to give some shade to the pots next to them. My next concern was that I would have to water them every day. That also turned out not to be the case. Every other day was just fine. The biggest surprise was that I actually saved water. The amount of time to water the pots was less than half what it had previously taken to water the same beds.
So other than the poor first year bloom (normal after transplanting) I was pleased with the results from the first year. The second year was a mixed bag however. During the winter the plants grew like gangbusters. The fans were some of the best in years. I excitedly waited for bloom which arrived right on schedule. It was a pretty good year for bloom and I began to think this experiment was going to be a success. Then the 2nd summer arrived...
During the 2nd summer quite a few of the daylilies seemed to suffer from the heat more than usual. In the fall I unpotted them to see if there was anything to be learned. What I discovered was that just about every cultivar that had declined had a smaller root system than those that had continued to grow well. This is not to say that the pot caused the root system to be smaller. I believed that something else was in play and I eventually figured out what it was.
It turns out that because the potting mix was so loose, the sand tended to migrate toward the bottom of the pot with every watering. The cultivars with extensive root systems tended to hold the sand in place keeping the mix fairly homogeneous while the smaller rooted cultivars did nothing to stop the sand from moving down. I also found that the ability of the soil to hold moisture was related to the amount of sand in it. The pots where much of the sand had left the top part of the mix and were concentrated in the lower part were not evenly moist. The top part of the soil (where most of the daylily roots were located) drained so quickly that the water wasn't being obsorbed very well by the remaining mix ingredients. The bottom however became compacted due to the high sand ratio and often would still be soggy a couple of days after watering.
The observation from this was that the growing mix is probably the most important factor in successfully growing daylilies in pots. In my next post I'll continue this thread.
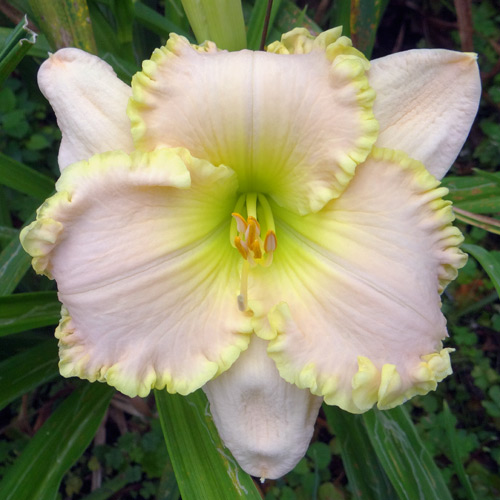
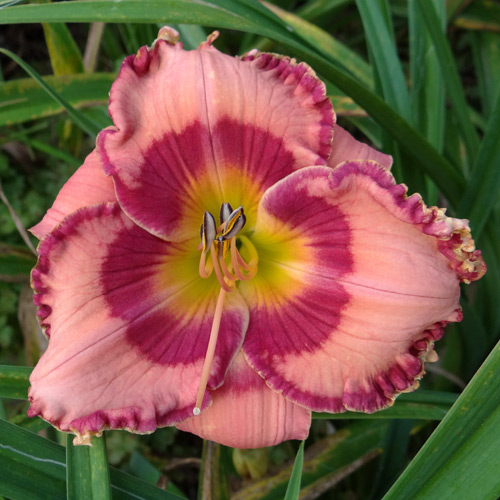
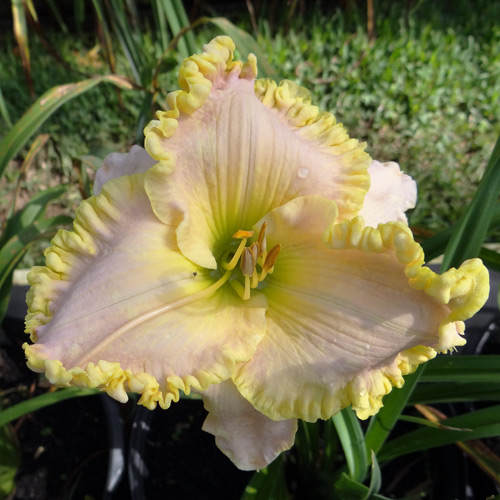
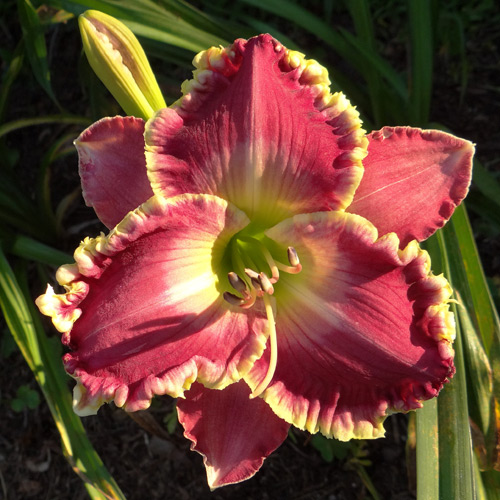
Seedling 15-077


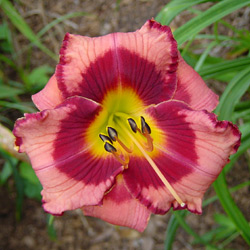
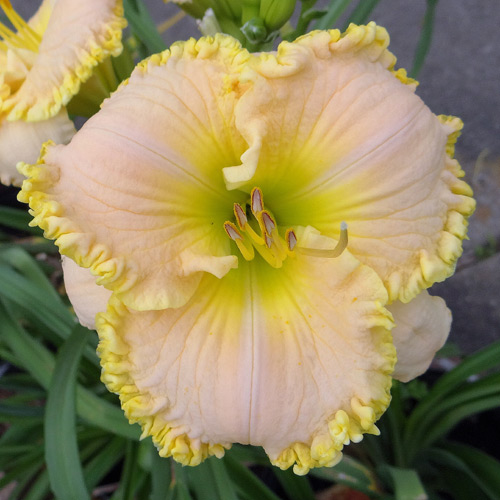
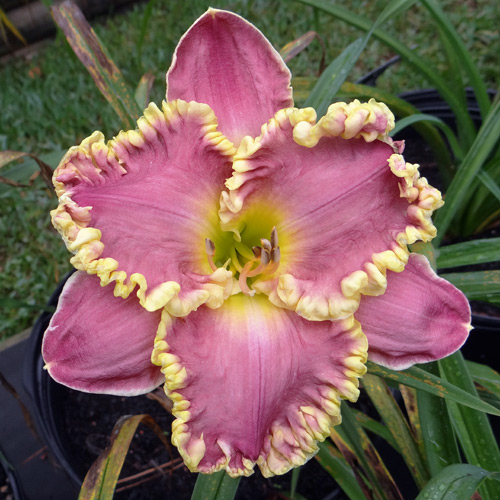
Springtime Romance Diamond Silk
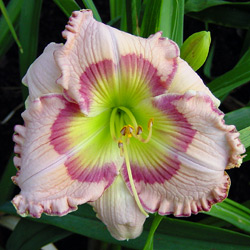
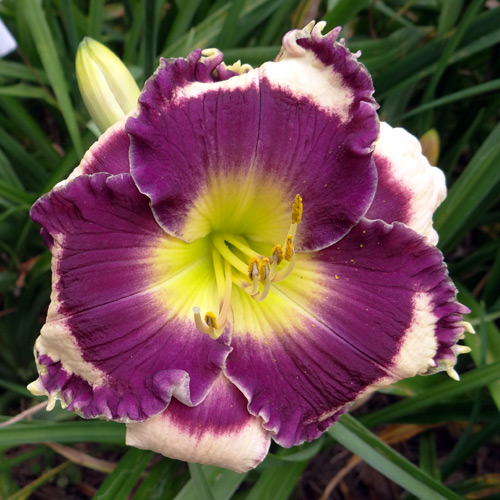
Today's seedling is 15-077 from the cross [Springtime Romance x Diamond Silk]. Its maiden bloom was this past season so I don't yet know how it will perform. It has a 6" bloom but the scape height was a little shorter than I like (I like tall scapes!).